Pyclipr is a Python library offering the functionality of the Clipper2 polygon clipping and offsetting library and are built upon pybind . The underlying Clipper2 library performs intersection, union, difference and XOR boolean operations on both simple and complex polygons and also performs offsetting of polygons and inflation of un-connected paths. Unfortunately, the contracted name (Clipr) is the closest name to that of the previous form.
Unlike pyclipper, this library is not built using cython, which was previously integrated directly into PySLM with custom modifications to provide ordering of scan vector. Instead the full capability of the pybind binding library is exploited, which offers great flexibility and control over defining data-structures. This library aims to provide convenient access to the modifications and new functionality offered by Clipper2 library for Python users, especially with its usage prevalent across most open source 3D Printing packages (i.e. Cure) and other computer graphics applications.
Summary of key ClipperLib2 Features Relevant to AM and their use in PySLM
- Improved performance and numerical robustness
- Simplification of open-path clipping – no requirement to use PolyPath usage
- Built-in numerical scaling between floating point and the internal Int64
- Additional point attributes built-in directly (Z-attribute)
Summary of Implementation
The structure follows closely with ClipperLib2 api in most cases but has adapted some of the naming to be more pythonic and regularity during typing.
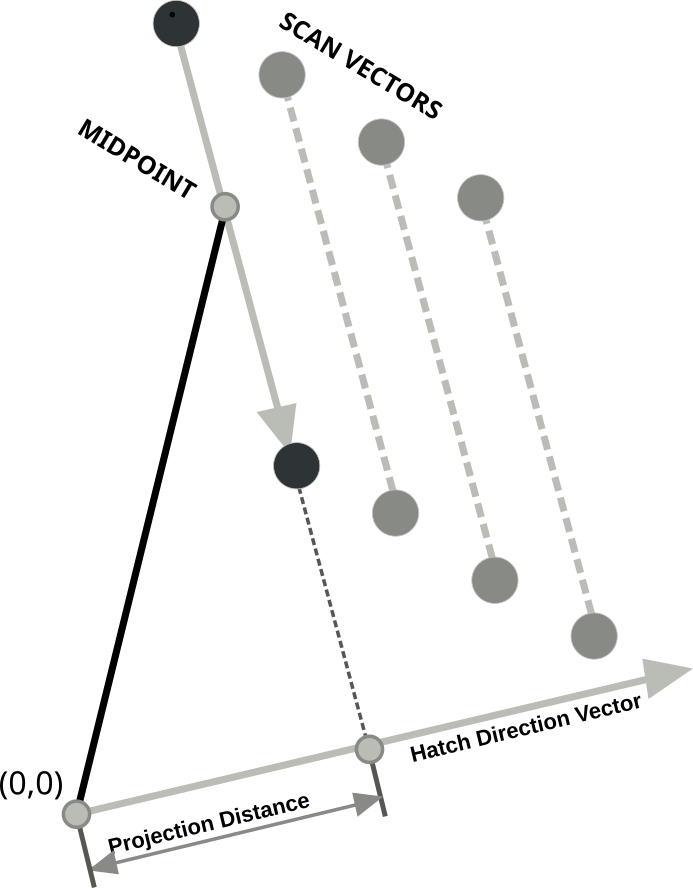
The added benefit of the original PyClipper library is that it can take numpy and native python lists directly, because these are implicitly converted by pybind into the internal vector format. A significant addition is the ability to accept 2D paths with the additional ‘Z’ attributes (currently floating points) without using separate functions, taking advantage of pythons duck typing. Open-paths and these optionally defined z attributes are returned when passing the arguments when performing the execute function for clipping utilities. Below are a summary of the key operations
Path Offsetting
Path offsetting is accomplished relatively straightforwardly. Paths are added to the ClipperOffset object and the join and end types are set. The delta or offset distance is then provided in the execute function.
import numpy as np
import pyclipr

# Tuple definition of a path
path = [(0.0, 0.), (0, 105.1234), (100, 105.1234), (100, 0), (0, 0)]
path2 = [(0, 0), (0, 50), (100, 50), (100, 0), (0,0)]

# Create an offsetting object
po = pyclipr.ClipperOffset()

# Set the scale factor to convert to internal integer representation
pc.scaleFactor = int(1000)

# add the path - ensuring to use Polygon for the endType argument
po.addPath(np.array(path), pyclipr.Miter, pyclipr.Polygon)

# Apply the offsetting operation using a delta.
offsetSquare = po.execute(10.0)
Polygon Intersection
Polygon intersection can be perform by using the Clipper object. This requires add individual path or paths and then setting these as subject and clip. The execute call is used and can return multiple outputs depending on the clipping operation. This includes open-paths or Z attribute information.
# continued

# Create a clipping object
pc = pyclipr.Clipper()
pc.scaleFactor = int(1000) # Scale factor is the precision offered by the native Clipperlib2 libraries

# Add the paths to the clipping object. Ensure the subject and clip arguments are set to differentiate
# the paths during the Boolean operation. The final argument specifies if the path is
# open.

pc.addPaths(offsetSquare, pyclipr.Subject)
pc.addPath(np.array(path2), pyclipr.Clip)

""" Polygon Clipping """
# Below returns paths of various clipping modes
outIntersect  = pc.execute(pyclipr.Intersection)
outUnion = pc.execute(pyclipr.Union)
outDifference = pc.execute(pyclipr.Difference, pyclipr.EvenOdd) # Polygon ordering can be set in the final argument
outXor = pc.execute(pyclipr.Xor, pyclipr.EvenOdd)

# Using execute2 returns a PolyTree structure that provides hierarchical information
# if the paths are interior or exterior

outPoly = pc.execute2(pyclipr.Intersection, pyclipr.EvenOdd)
Open Path Clipping
Open-path clipping (e.g. line segments) may be performed natively within pyclipr, by default this is disabled. Within the execute function, returnOpenPaths argument should be set true.
""" Open Path Clipping """
# Pyclipr can be used for clipping open paths.  This remains simple to complete using the Clipper2 library

pc = pyclipr.Clipper()
pc2.scaleFactor = int(1e5)

# The open path is added as a subject (note the final argument is set to True to indicate Open Path)
pc2.addPath( ((50,-10),(50,110)), pyclipr.Subject, True)

# The clipping object is usually set to the Polygon
pc2.addPaths(offsetSquare, pyclipr.Clip, False)

""" Test the return types for open path clipping with option enabled"""
# The returnOpenPaths argument is set to True to return the open paths. Note this function only works
# well using the Boolean intersection option

outC = pc2.execute(pyclipr.Intersection, pyclipr.NonZero)
outC2, openPathsC = pc2.execute(pyclipr.Intersection, pyclipr.NonZero, returnOpenPaths=True)
Z-Attributes
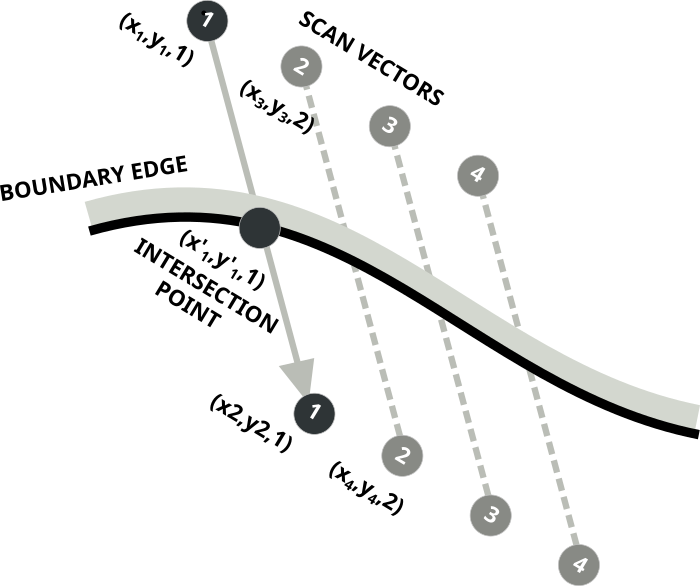
The final script of note is the in-built Z attributes that are embedded within PyClipr. Z attributes (float64) can be attached to each point across a path or. set of polygons. During intersection of segments or edges, these Z attributes are passed to the resultant clipped paths. These are returned as a separate list in the output.
""" Test Open Path Clipping """

pc3 = pyclipr.Clipper()
pc3.scaleFactor = int(1e6)

pc3.addPath(openPathPolyClipper, pyclipr.Clip, False)

# Add the hatch lines (note these are open-paths)
pc3.addPath( ((50.0,-20, 3.0),
              (50.0 ,150,3.0)), pyclipr.Subject, True) # Open path with z-attribute of 3 at each path point

""" Test the return types for open path clipping with different options selected """
hatchClip = pc3.execute(pyclipr.Intersection, pyclipr.EvenOdd, returnOpenPaths=True)

# Clip but return with the associated z-attributes
hatchClipWithZ = pc3.execute(pyclipr.Intersection, pyclipr.EvenOdd, returnOpenPaths=True, returnZ=True)
Usage in PySLM
PyClipr has been refactored for use in the next release of PySLM (v0.6). This has improved readability of code and in some cases there are performance improvements due to inherent optimisations within ClipperLib2. This includes also removal of unnecessary transformations and scaling factors performed within python, that were required converting between paths generated in PySLM (shapely) and PyClipper originally. In particular, avoiding the use of PolyNodes were especially useful to avoid throughout. Modifications have been applied throughout the entire modules including the hatching and support modules. PySLM also now benefits by becoming a purely a source distribution, by distribution the clipping and offsetting functions into a separate package, therefore no additional compiling is required during installation.

